

$13.99
Your orders are shipped in discreet, nondescript packaging with no company names or identifying marks.
We guarantee delivery on all orders, no matter what!
Your payments are secure with our private security network.
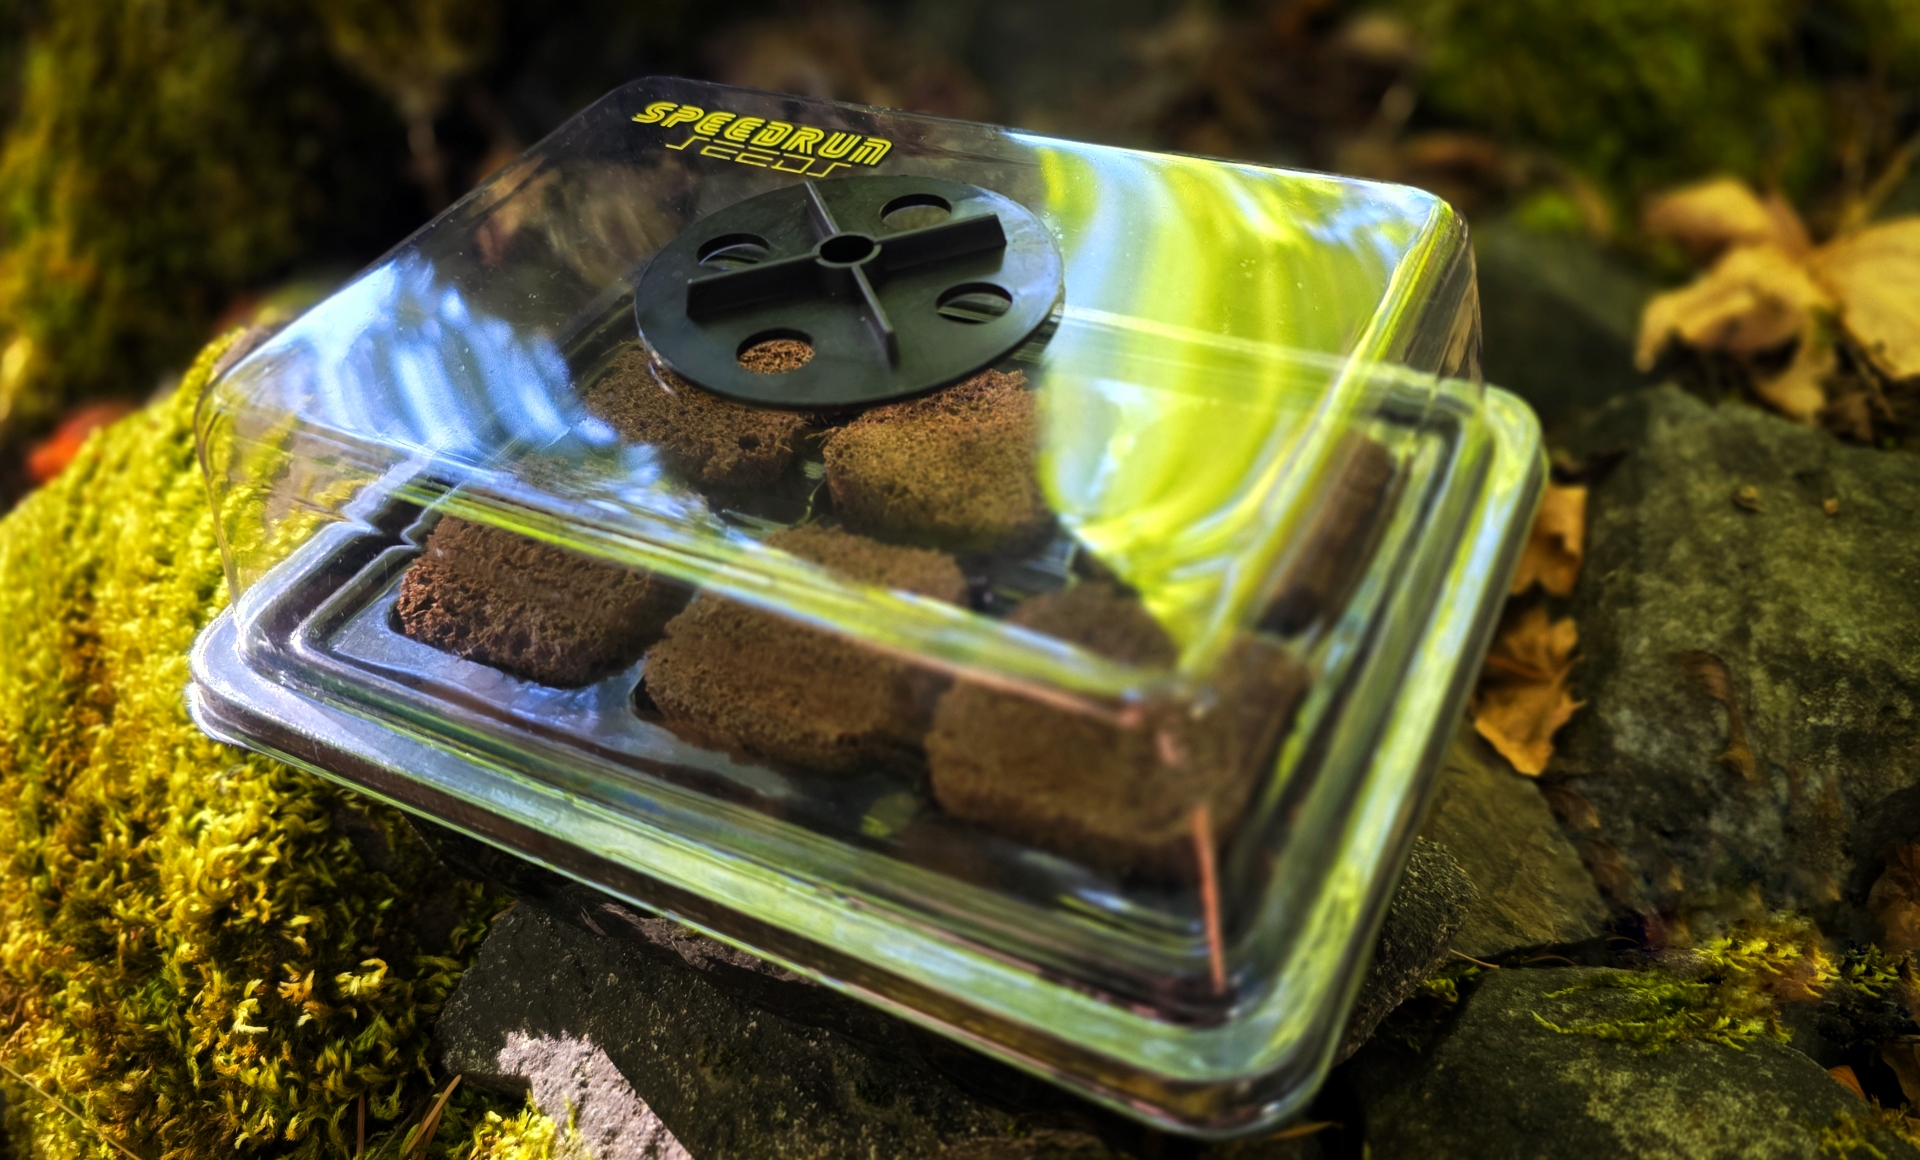
The worlds FIRST and ONLY seed starting system designed specifically for autoflowers! Over the course of the last 4 years of R&D, I’ve developed this exact system for kickstarting autoflower seedlings, using the power of air pruning with our bottomless air gap system. This custom designed kit is the result of lots of back and forth with the manufacturer, and a bunch of iterations of this tray until it was just right.
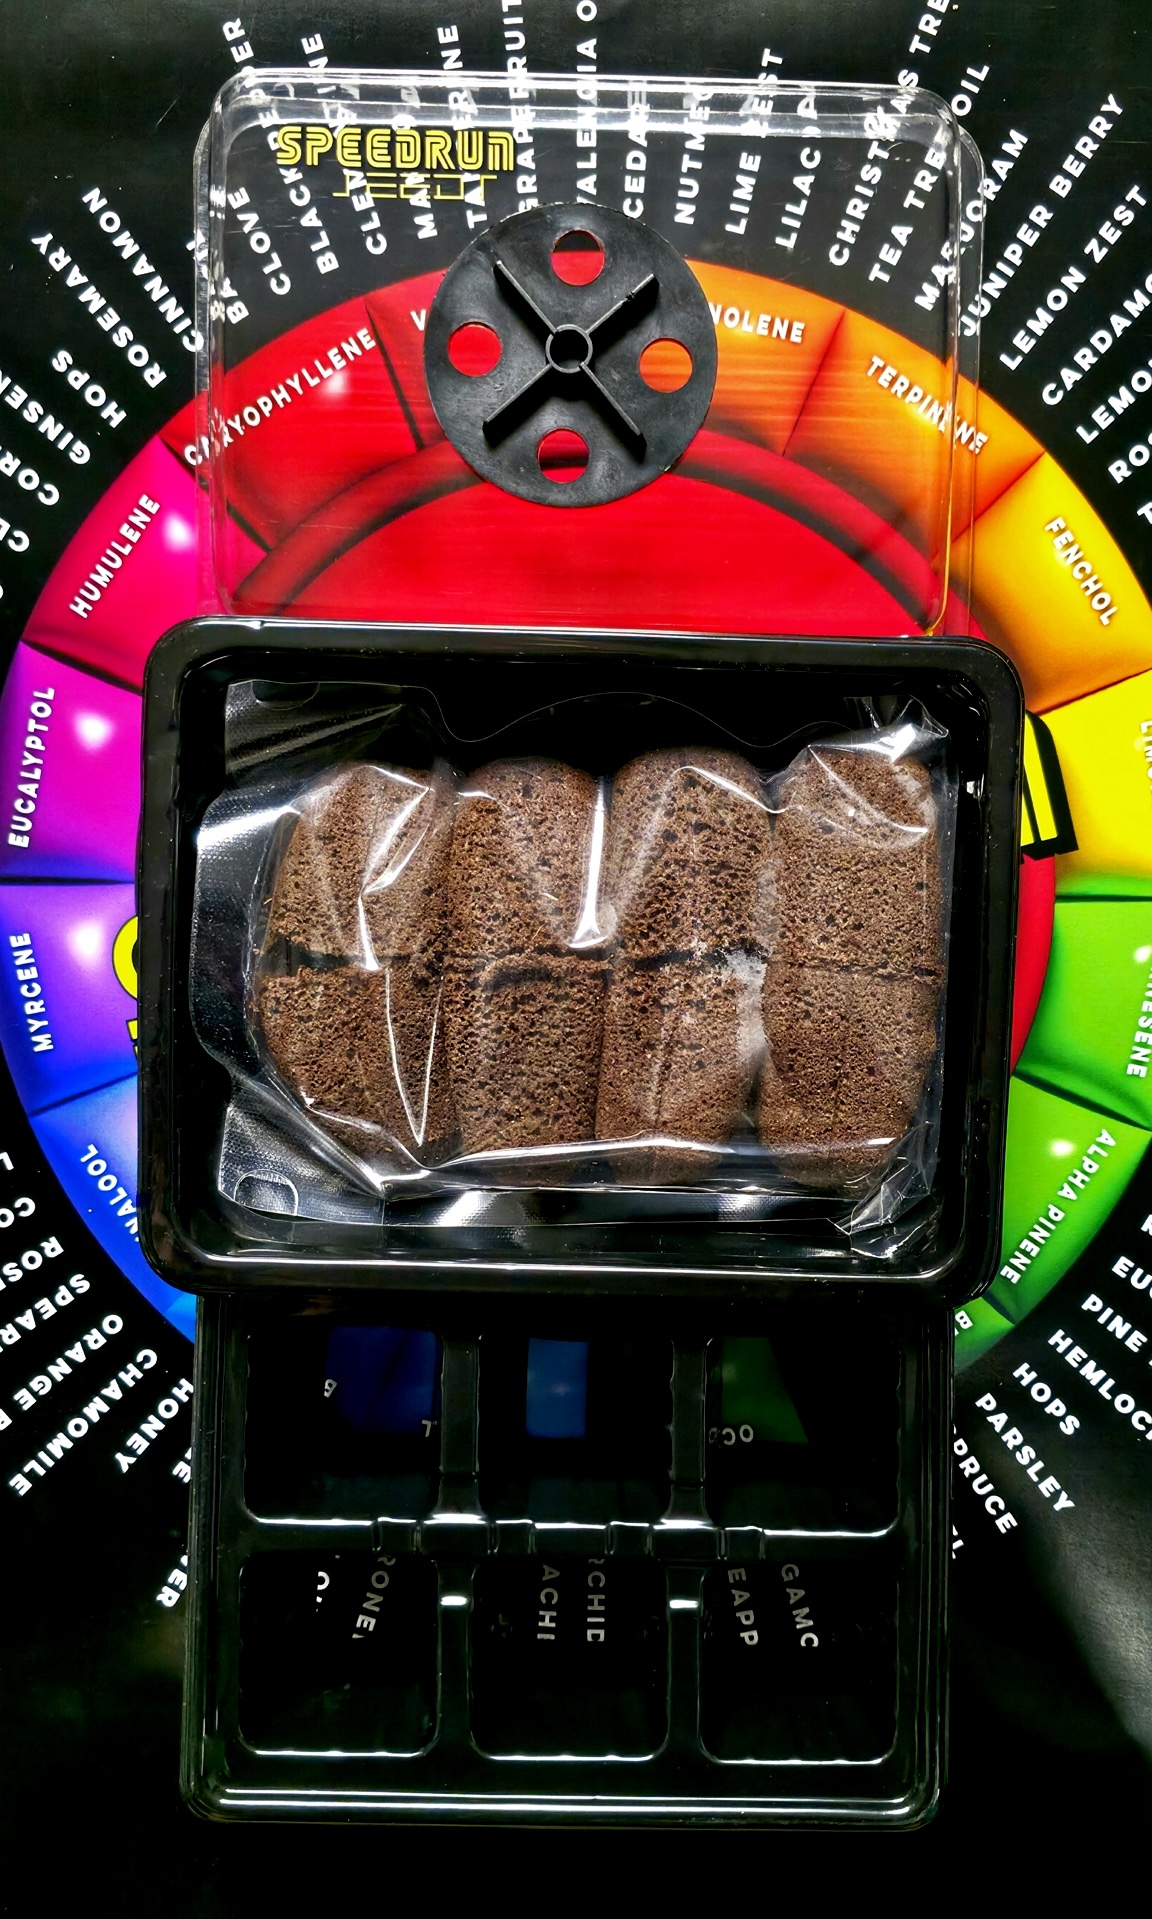
Our specially formulated pre-moistened Propagation Plugs, have been designed to have the optimal size, texture, water holding capacity, drainage, and composition just for autoflower seedlings.
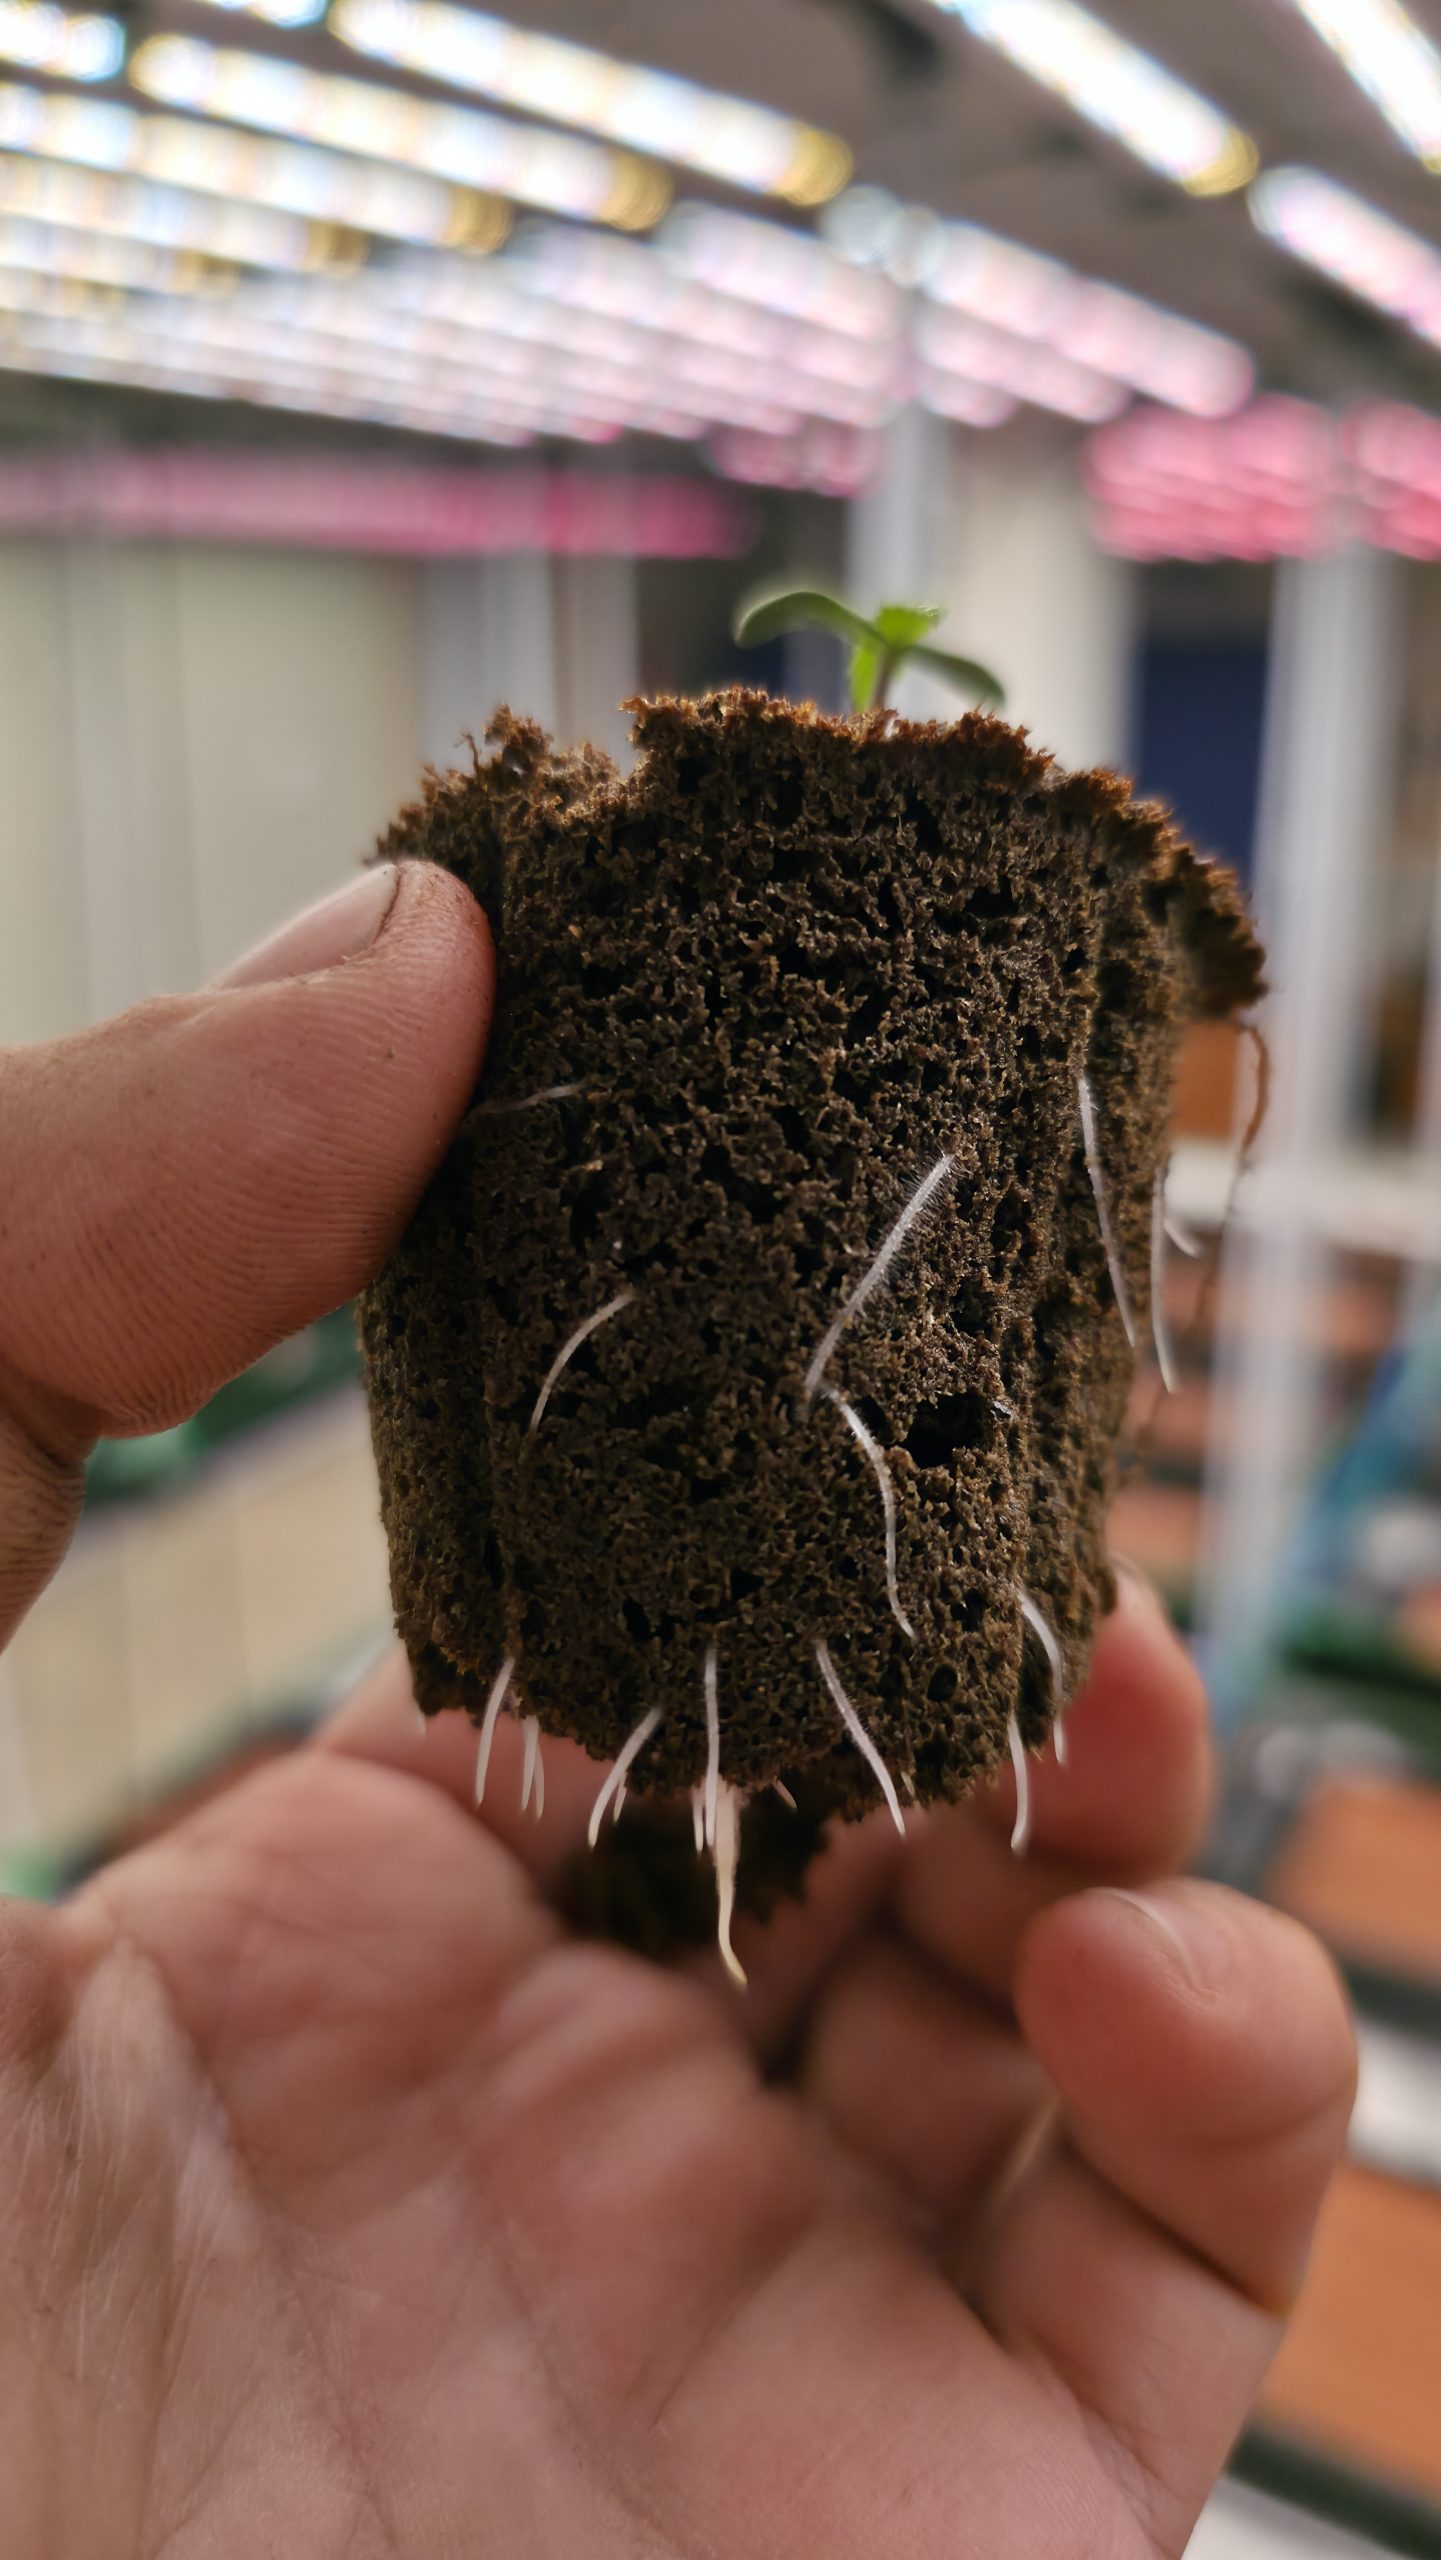
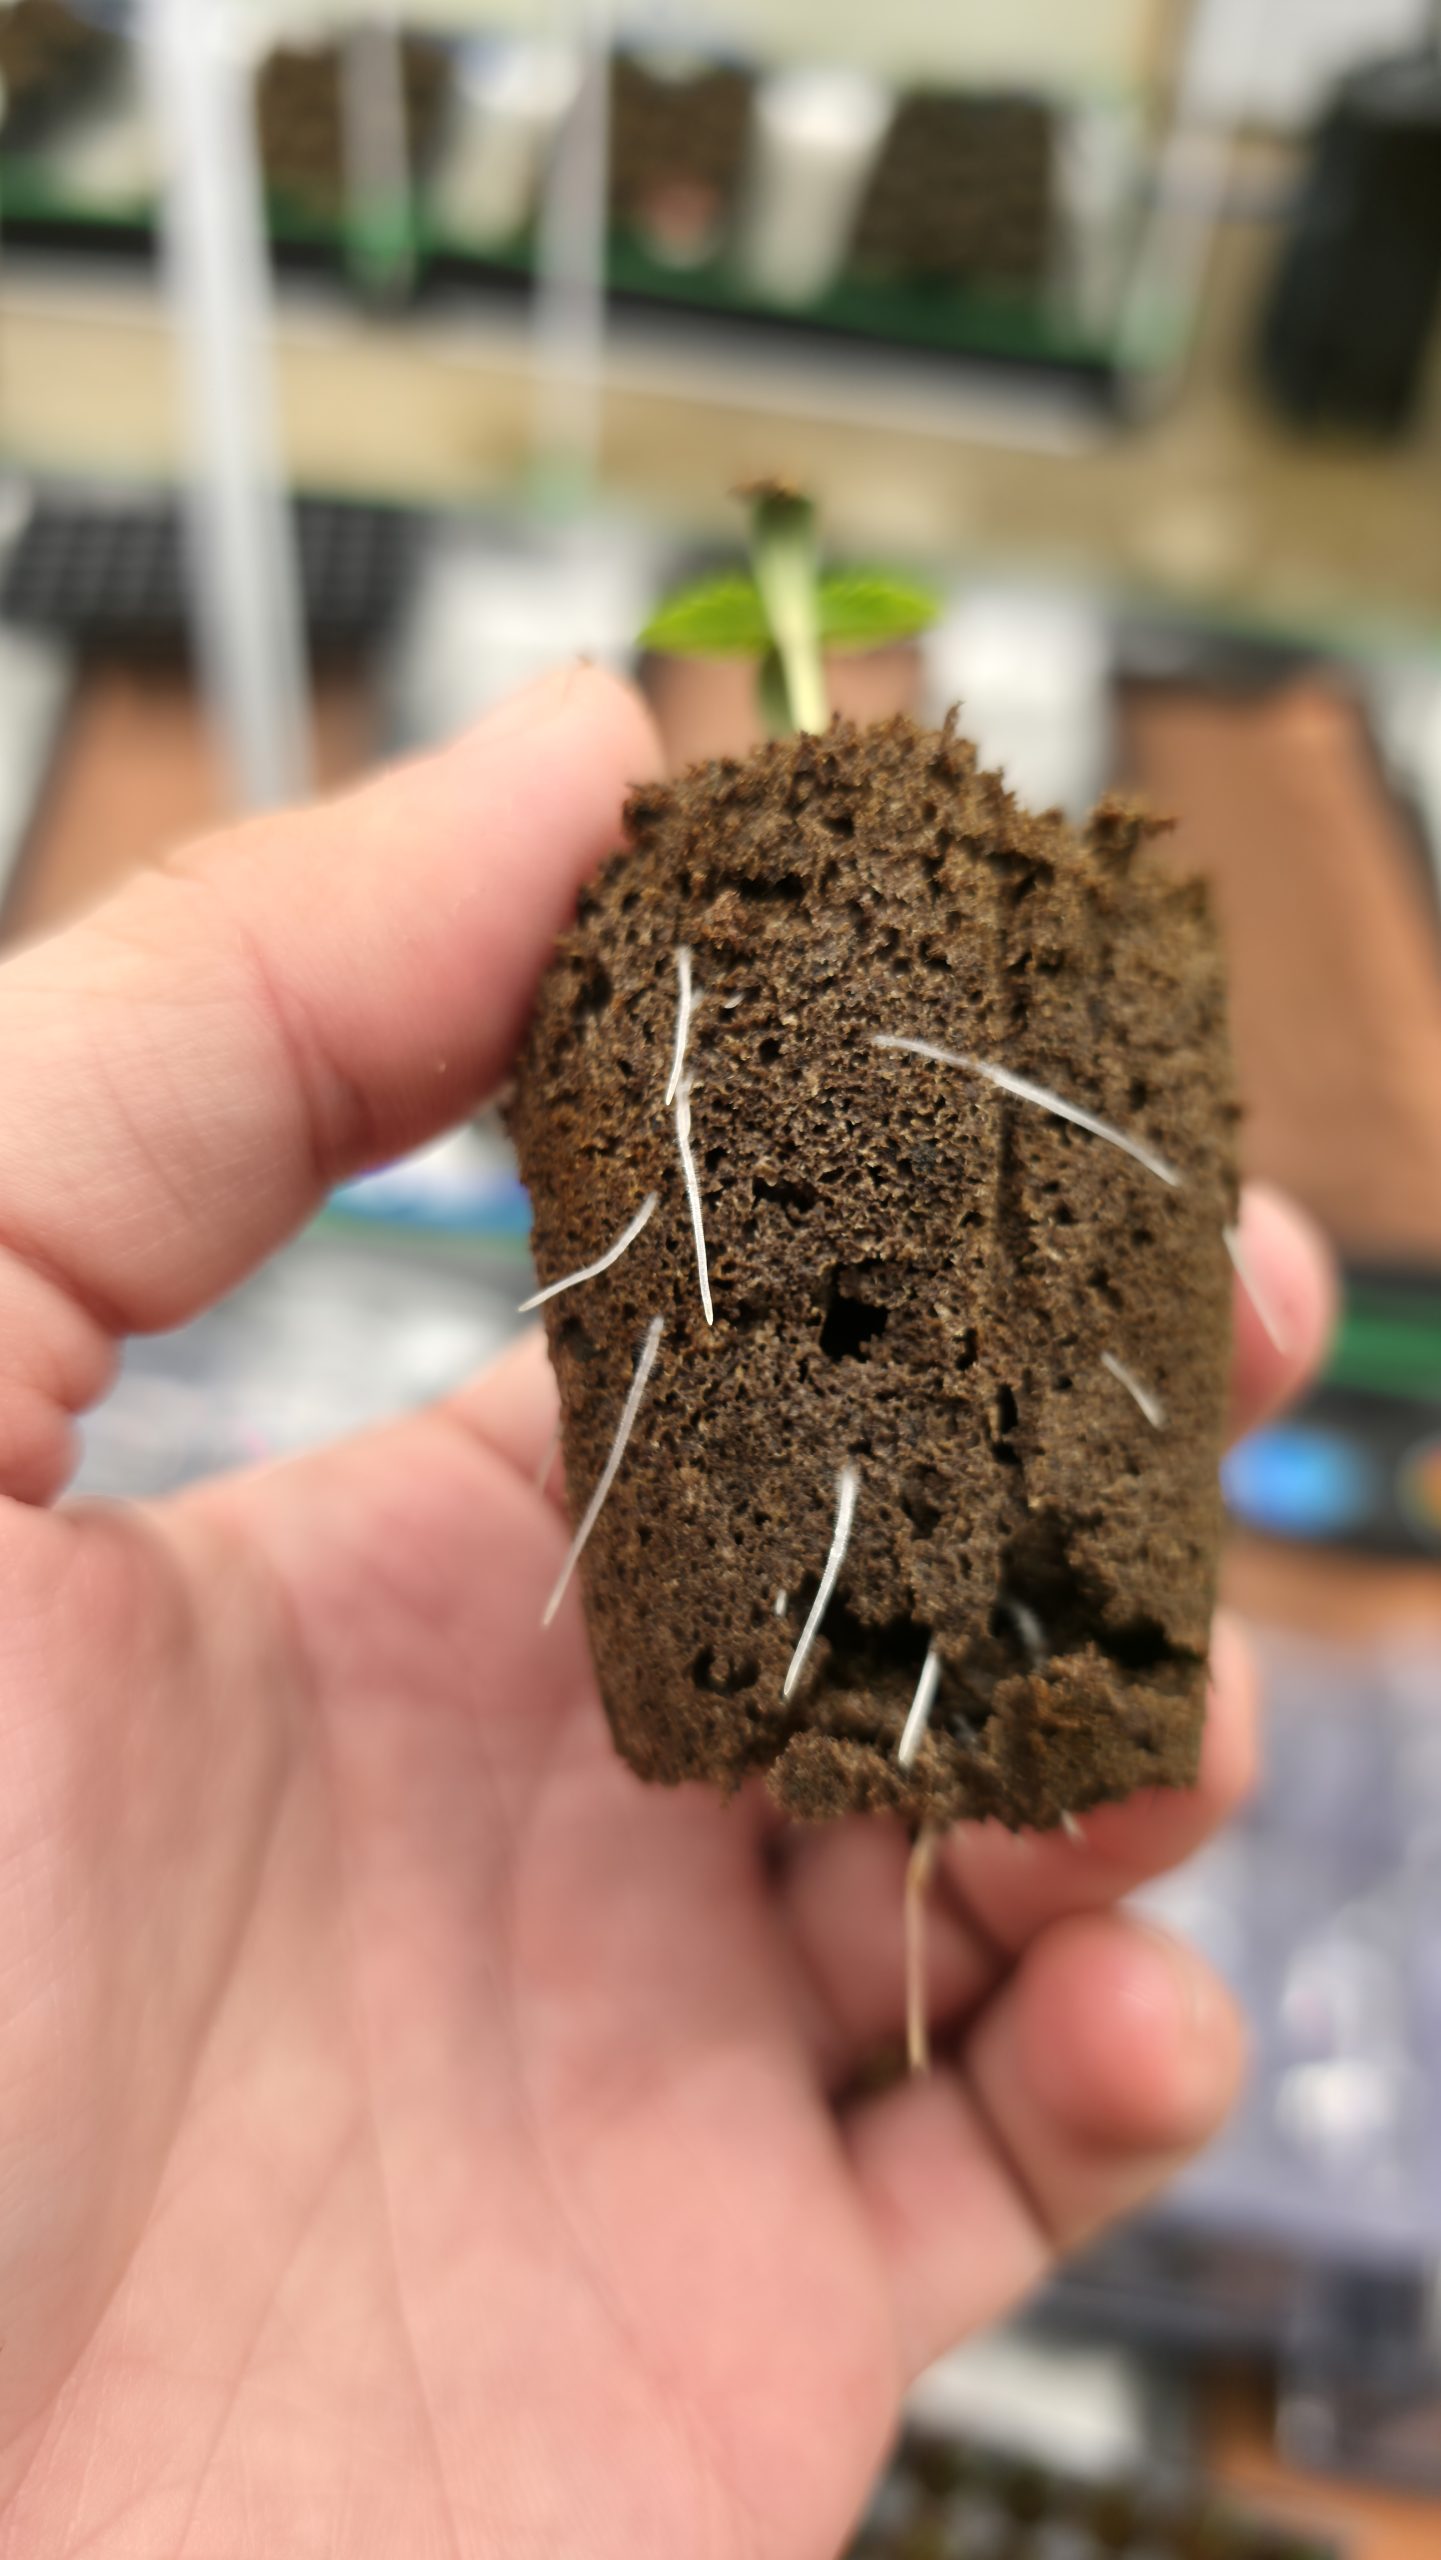
This first-of-it’s-kind system forces your seedlings to stop relying on just the tap root, like with normal seed starting methods. Instead they’ll develop powerful lateral roots bursting from the sides of each plug within just days of your seed breaking ground. It’s that lateral root development that gives your seedlings a major head start toward populating their destination container with strong and healthy root systems. That’s how they can immediately start to take advantage of the whole pot, not just the bottom few inches!
Contents:
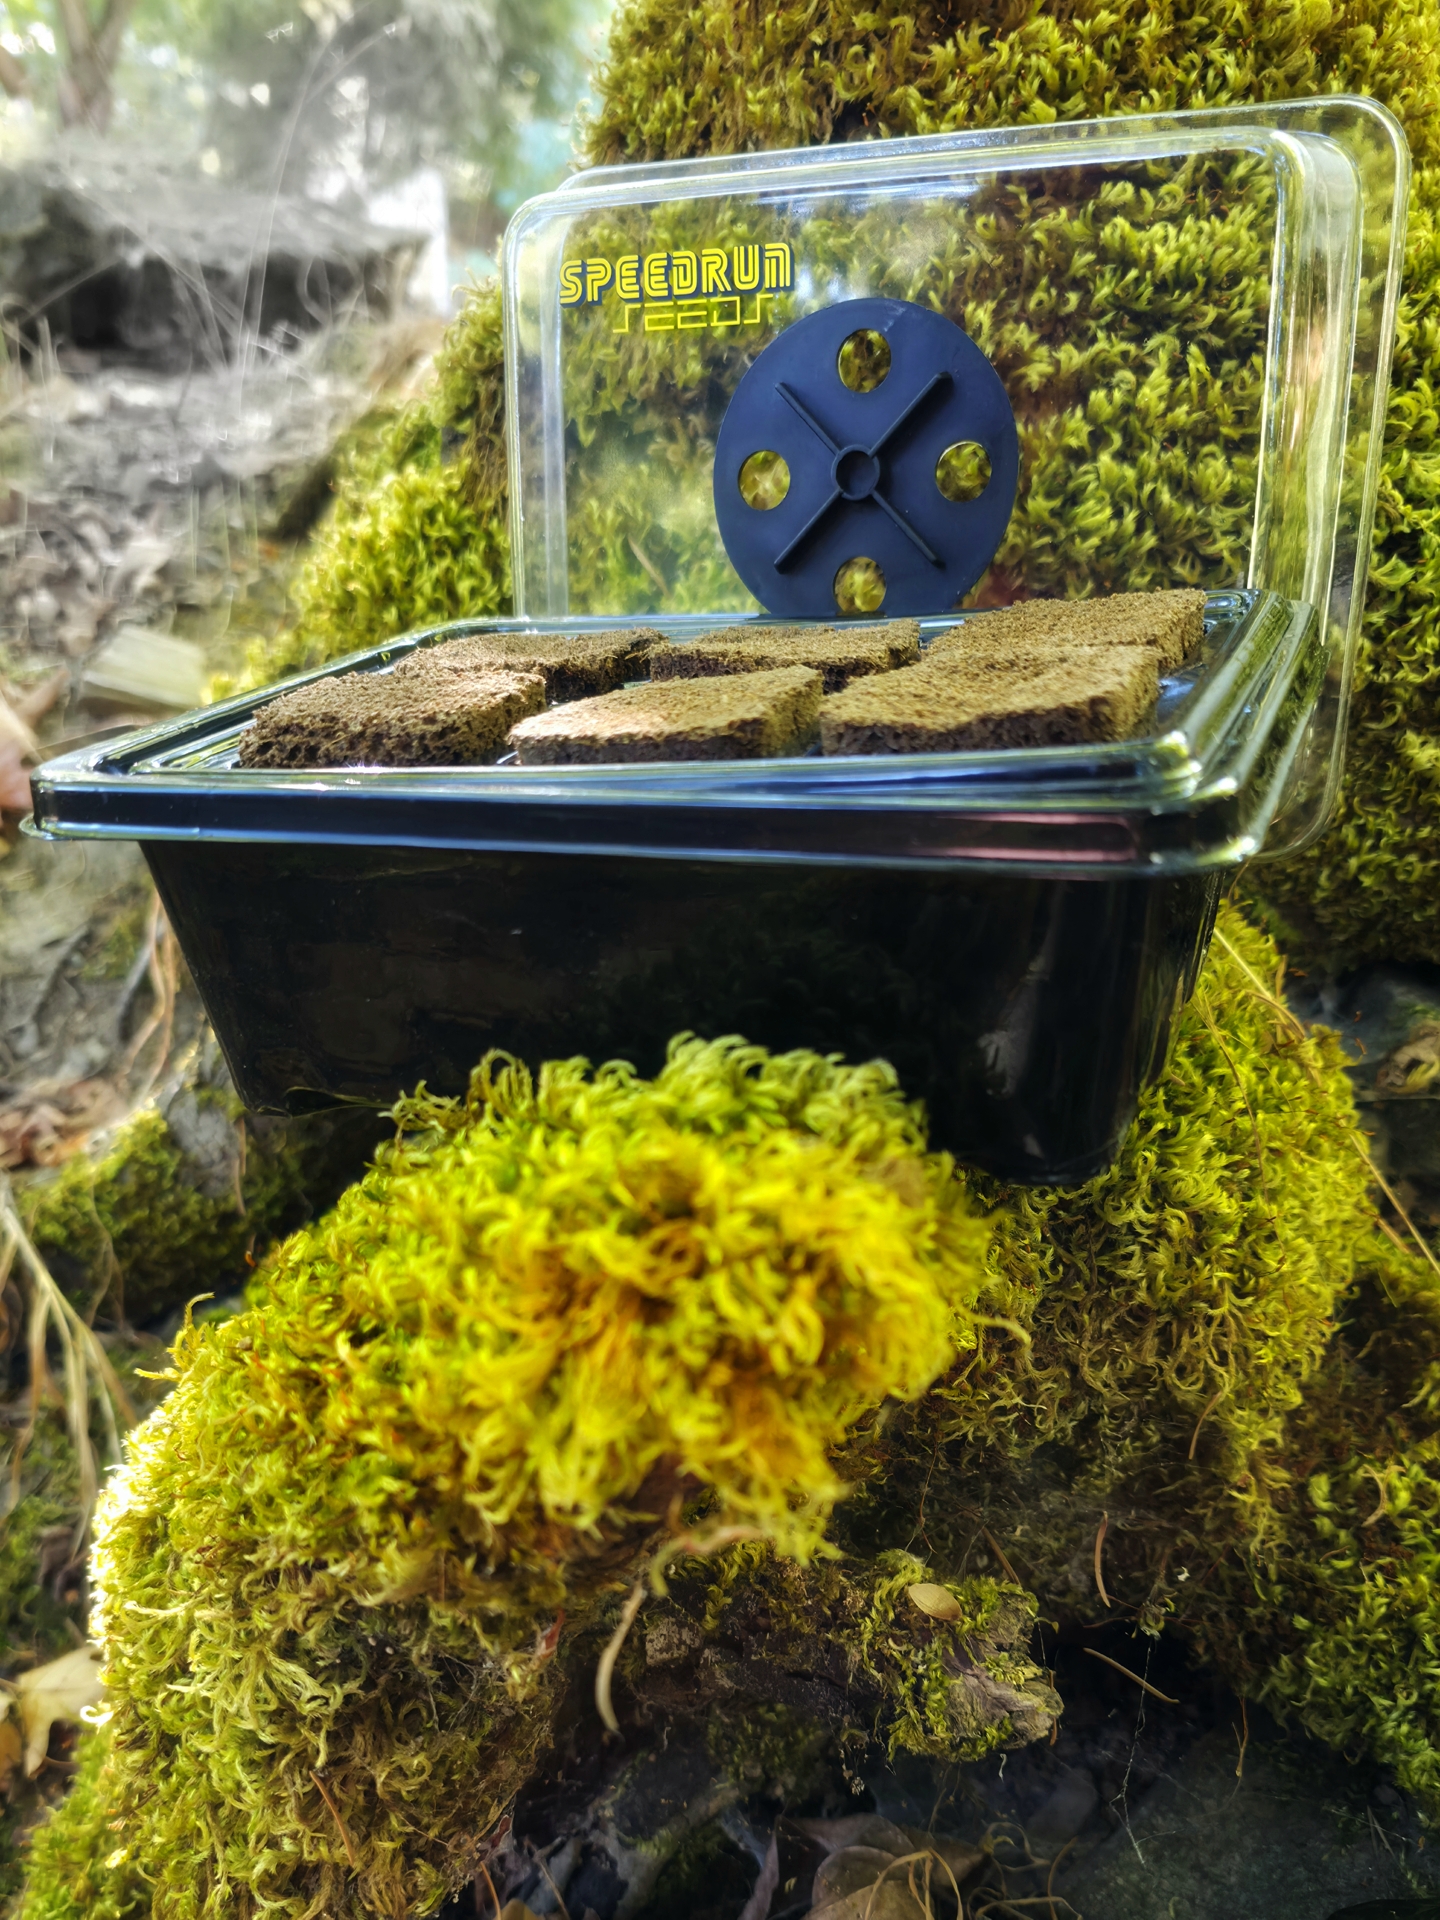
(1x) Adjustable airflow dome lid
(1x) Drainage Base
(1x) Interior seed tray
(8x) Speed Starting Plugs
Instructions:
Irrigate however many Speed Starter plugs matches the number of seeds you’d like to start with pH 6.2 water. Then, with a gentle yet firm squeeze, remove any excess water that may drain into the bottom tray. You may also insert the plugs into the inner tray and allow it to sit on a tabletop or another surface for a few hours until all excess water has drained from the plugs.
Starting with well drained plugs is ESSENTIAL to avoid standing water in the lower drainage tray, which may lead to the tap roots “jumping” the air gap and growing directly into the water below.
After sufficiently wetting and draining the plugs, use a toothpick or another sharp implement to create about a quarter inch hole in the surface of one Speed Starting Plug. While holding that hole open, drop one seed in and remove the toothpick. The hole should close on its own. Examine the surface of the plug under a sufficiently bright light, to ensure that you cannot see the seed at all. If the seed is visible, you may rip some of the plug material from a corner of the plug and gently insert it above your seed to ensure complete coverage.
Once all seeds have been planted, and the inner seed cell tray has been inserted into the lower drainage tray, cover with the clear adjustable airflow dome. Ensure the airflow slider is set so the airflow holes are entirely closed.
Place the Speed Starting Tray under a grow light (Par meter should read about 250-300 PPFD).
After about 12 hours, check the drainage tray for excess water, and empty if necessary.
Once your seeds have sprouted (The first green leaves are visible) you may open the airflow holes. First open them only halfway. After 12-24 hours they may be opened all the way.
Once the sprouts have grown tall enough that they may soon contact the inside of the dome, remove the dome and keep it off for about 6 hours. You may need to replace the dome alternating on and off, if the humidity in your grow room is below about 60%. This will help acclimate your seedlings to the lower humidity.
Ideally, your grow room conditions should allow you to remove the dome without having to replace it.
Keep your seedlings in the Speed Starter Plugs until the first two true leaves are visible (true leaves have serrated leaf margins) before transplanting. After sprouting, your seedlings should not spend more than 5-7 days in the trays.
Product Description
This product has been a long time coming!
I’ve been personally developing this 6-cell autoflower seed starting tray over the course of many months, and across many rejected samples. What we’ve finally landed on mimics the 50-cell seed trays that we frequently modify for our own personal use at Speedrun Seeds.
The problems with “Standard” seed starting trays became clear to us early on in our experience with autoflowers. Regardless of whichever specific tray, we’d find that the water drainage holes at the bottom of the seed cells were insufficient for safely starting autoflower seeds.
One of the main frustrations was that our seedlings’ tap roots would quickly grow through the single drainage hole, or one of multiple drainage slits at the bottom of each cell, seeking the humid conditions and drained water found in the lower drainage tray/base. This was problematic for a number of reasons, but the main issue was that it made removing the seed starting plug an extremely difficult prospect without damaging that tap root. The edges of the tray’s drainage holes are often sharp, and one wrong move would frequently result in severe damage or even completely severing the seedling’s tap root.
The other major problem we’d run into with standard seed starting tray layouts was avoiding what we’d lovingly call the “death spiral” that happened at the bottom of each seed starting cell if the roots managed to stay contained within the cell. What we’d be referring to, is the phenomenon that occurs when an autoflower tap root hits the bottom or the “floor” of whatever container it’s growing in. The tap root, and the lateral roots that branch off of it, will almost always begin to circle the bottom perimeter of that container. They do this because they must keep growing in order to sustain aerial (above ground) growth, but they have run out of fresh areas of growing medium for the roots to populate. This results in a tightly coiled circle of roots at the bottom of a container that significantly harms the growth potential of autoflower seedlings specifically (Photoperiods can recover from this with some extra time afforded in the vegetative stage).
At some point, while starting thousands of seeds at our facility, I made the decision to grab a utility blade and begin slicing the bottoms or the “floors” off of each individual seed cell on the “inner insert” portion of the tray. The intention was to stop the death spiral, but I actually ended up noticing some extra unintended benefits.
There is a technique in horticulture called air pruning, where the root tips are exposed to air. This causes those exposed roots to dry and often die back, which stimulates stronger and more robust secondary, also called lateral, root growth.
After cutting the bottoms off of the seed cells, and learning through trial and error to never allow excess drainage water to exist in the bottom drainage tray, we found that the tap roots would experience this air pruning effect. This is due to the layer or gap of air that now existed directly beneath the seed starting plugs, above the floor of the drainage tray.
At first I’d thought we’d damaged the seedlings, since the tap root appeared to have just died. But I’d soon be delighted in how the seedlings responded to this.
Roots seek moisture. When the rootzone grows in a container with a bottom, the water drains through the drainage holes, which results in the medium at the very bottom of the container always being the “wettest” part of that growing medium. This is actually part of why the “death spiral” occurs, as the roots circle through whatever area has the most moisture.
So, instead of harming the seedlings by air pruning the tap root, the removal of the cell bottoms actually stimulated lateral root growth to grow toward the new areas with the highest moisture content–the places where the seed starting plug was making contact with the walls of the cells. With air below and air above, the most moisture was now contained in the center of the seed starting plug.
The end result was healthy roots, covered in fuzzy root hairs, growing out from the sides of the seed starting plugs like I had never witnessed before. This gave us healthier root zones which were able to rely not on the tap root, but on the secondary roots to “find” the edges of the destination containers after transplant. The results spoke for themselves and we’re MORE than excited to finally share those results with you.
Now– Cutting off the bottoms of a seed starting tray isn’t exactly “designing” a new tray. That’s true. That was only the first step in working with our manufacturer to design these trays to our exact specifications. We have custom “Speed Starter” plugs that need to fit perfectly into the cell inserts for this whole thing to work.
So I took measurements of the tops of our seed starting plugs, and had a new mold made to match the precise size of our exact plugs. Well, this turned out to create two new problems. I forgot to measure the bottoms of the cells to ensure that the angle of the cell walls would match that of the plugs, to allow for sufficient plug-to-tray contact (for the roots to find the moisture in all the right places).
Not only that, but the original seed cell insert trays from the manufacturer were actually clear, which was totally fine before I went and shrunk the tops of the cells so much that light was now penetrating down to the root zones. So not only did I need to pay for an entirely new mold to also shrink the open hole at the bottom of the seed starting cells, but I would need to completely change the material to a black plastic rather than clear.
So after all that, we finally have a product that we’re excited to say we’re quite proud of, and we’re very excited for you to share in that excitement.
You must be logged in to post a review.

Bobby Stanley (verified owner) –
100% success popping seeds in this.. My new go to from the traditional paper towel method. Concept works!! Definitely worth trying!!
Robert Wright (verified owner) –
Works great. All seeds popped at the same time and had incredible roots much like the pics above show. Transplanted on day 6 and they took off right away.